Harness the Power of Lists
Lists are a powerful feature of CreamSoda! They allow you to filter, sort, and customize your data, keeping your business’s most critical customer data at your fingertips. You can segment your data into specific lists based on a wide variety of information, such as location or industry.
For instance, you might want to create a list of customers to enroll them in a marketing campaign. Lists can also be used to create targeted resources for management reports.
Save your lists and save time! You can save and share your custom lists, ensuring that you and your team can always find exactly what you need when you need it.
Creating a New List
You can create lists for resources (Person, Company, and Deal) in CreamSoda. These lists can be used in a wide variety of use cases, such as marketing, outreach, and management reports. Within CreamSoda, they can be used in the Sequence feature, Bulk email feature, and in Offer Requests.
To create a new list:
- Select the resource of your choice from the left menu bar.
- For the Deal resource, click on a Deal Board and select List View from the View dropdown in the top right corner.
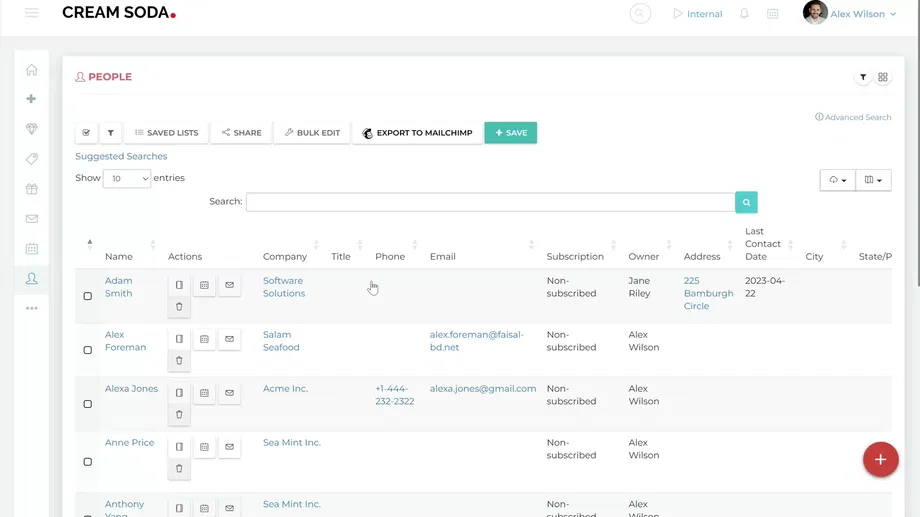
- Once the resource table appears, you have the ability to search and filter the data according to your needs. You can also apply advanced search keywords to fine-tune your data selection.
- Once you select the data, you can save it as either a Static list or a Dynamic list.
Static List
Static lists store a set of finite resources (Person, Company, or Deals) you select from the list table. This list can be manually updated by you or the people who have access to this list.
To save a static list:
- Search and filter the resource list based on your needs.
- Use the checkbox on the leftmost column to select the data you want to save.
- Click on the Save button to create a new list.
- Enter the name of the list and click Save.
Dynamic List
Dynamic lists are generated based on the searches and filters you used to segment the data. Once a dynamic list is saved, it will always pull data based on the predefined criteria. As a result, the data will never go stale as it will auto-update based on the query.
A dynamic list can only be saved when:
- You use searches and filters to segment the data.
- Do not select specific resources before saving the list.
To save a dynamic list:
- Search and filter the resource list based on your needs. You can use the column filters for additional filtering or use advanced searches.
- Click on the save button.
- Input a name for the list and select Dynamic list.
- Hit Save.
Editing an Existing List
- Select the resource of your choice (Person, Company) from the left menu bar.
- For the Deal resource, click on a Deal Board and select List View from the View dropdown in the top right corner.
- Click on Saved Lists.
- From the modal, select your desired list and click edit to update the list name or access information.
CreamSoda does not allow users to update the resources list. You can, however, open an existing list, make your tweaks, and save it as a new list.
Viewing a List
To view a list in CreamSoda:
- Select the resource of your choice (Person, Company) from the left menu bar.
- For the Deal resource, click on a Deal Board and select List View from the View dropdown in the top right corner.
- Click on Saved Lists.
- Click the View button on your desired list.
Deleting a List
To delete a list:
- Select the resource of your choice (Person, Company) from the left menu bar.
- For the Deal resource, click on a Deal Board and select List View from the View dropdown in the top right corner.
- Click on Saved Lists.
- Click the Delete button on your desired list.
Creating Vendor List
When you need to send out requests for offers, having a well-organized vendor list is essential. In CreamSoda, you can easily create and manage such lists. Follow these steps to set up your vendor list:
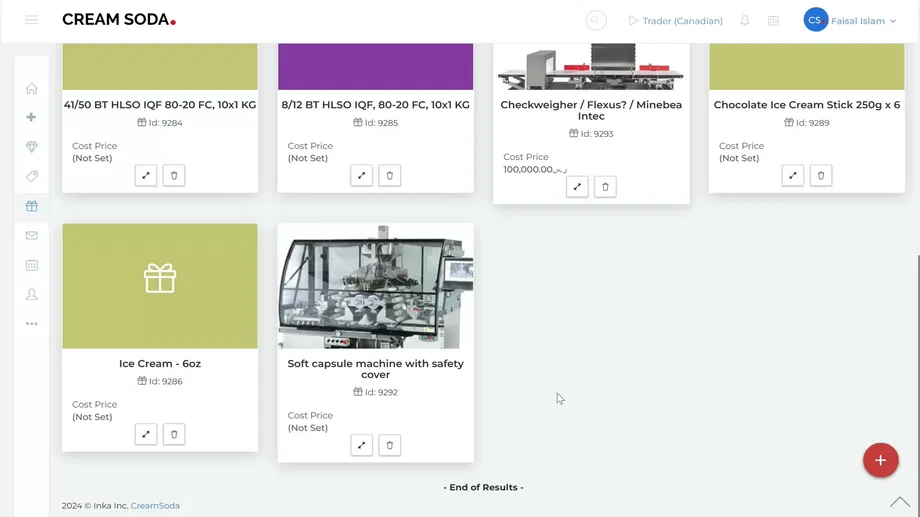
- Click on Products in the left menu bar.
- Choose the specific product for which you want to create a vendor list. Click Edit to proceed.
- Scroll down to the Vendors section within the product details.
- Click on the three dots (ellipsis) located in the top right corner.
- From the dropdown menu, select “Save as Company list”.
- Enter a descriptive name for your list (e.g., “Preferred Vendors”).
- Click Save to add the list.
Access Your Vendor List:
The newly created list will now appear under Company Resources. You can easily reference this list when sending out requests or managing vendor relationships.
CreamSoda automatically builds your vendor list as you create offers. When you specify a vendor for an offer, CreamSoda adds them to the list associated with the product mentioned in the offer.
By following these steps, you’ll have a streamlined process for managing vendors and ensuring efficient communication. Happy organizing! 🌟
Creating Specific Lists
You can create a variety of specific lists in CreamSoda, such as:
- Vendor list from Product: Find a list of vendors who supply a particular product right from the Product page.
- Lead List from Offers
- Mailing List
- Management List
- VIP check-in List
- Missing Info list
- Outreach list
- Hot Deal List


